We were now halfway into the month of June, and though we could use our deck, we still had no way to get down from it. I certainly wasn't planning to jump in my condition! The race was on, as we committed to hosting Greg's family for the 4th of July, and Gina's 65th birthday party.

But, before the stairs could even go on, Greg had to start on one of the walls to enclose the shed, that would be too difficult to take on after. It involved a masonry partition with wood framing above.


Once the wall was complete, it was time for the stringers to go in. Originally, we thought it would save time to buy precut stringers. But, as it turned out, the ratio of tread to riser was not quite the 11"/7" standard we had used in our plans. This meant that the store bought, pre-cut stringer was not going to land on the sonotube we already had imbedded in the ground for the foundation. It was also made out of a 2x 10 instead of a 2x12, which of course, did not satisfy Greg from a structural standpoint. So, he ended up cutting his own.


For the risers, we again opted for a white PVC trim product to keep maintenance down.

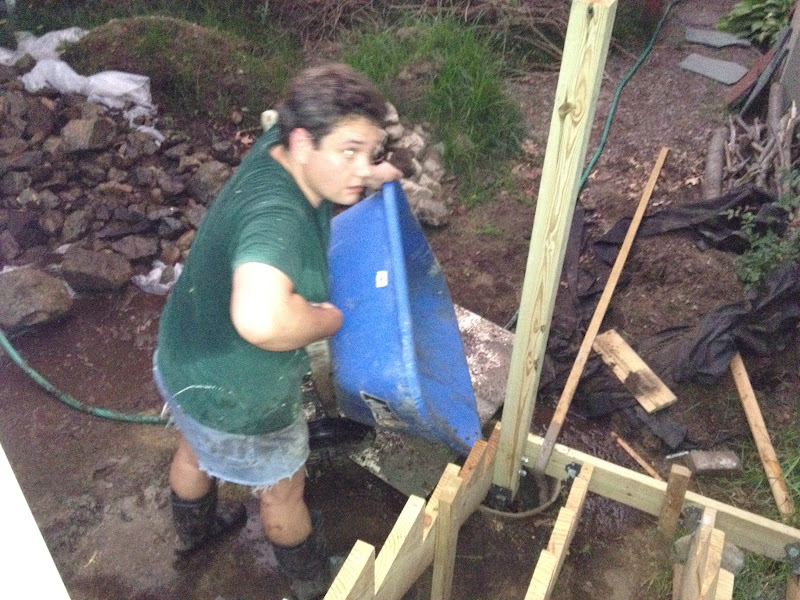
After all of the structure was in place for the stairs, it was time to fill the last foundation tube with concrete. Greg decided not to do this one when we had the original concrete delivery because he wanted to be sure where the stair structure needed to tie into the foundation, and to make sure that the height of the footing was correct as well,

It took more bags of concrete that I care to remember to fill that hole.


As previously mentioned, Greg was up against a party deadline, so he was at it every night that the weather allowed, until the sun left for the day, approaching 9:00 pm. Below, he's painting the tops of the stringers before putting the treads on to help protect them from any water that might sit on that edge.

Finally, it was time for the treads to go on!


And last, but not least, the railing. This was another complicated installation. The prefab PVC railings did not come in the right segment length for our spacing, which meant that Greg had to adjust a regular railing kit to make it work. He had to individually modify each of the plastic balusters to create the correct angle. I think it's safe to sat he did an excellent job!


And just like that, in right under the wire, the deck was suitable for entertaining!


